Installing an App Node in QRadar environment
Installing an App Node in QRadar environment is only possible for QRadar 7.3.0 and QRadar 7.3.1. Below this number, in versions 7.2.6 to 7.2.8, you must not off-board apps from the console. Forward this version, since 7.3.2 App Node has been replaced by App Host and became the same component as the other Managed Hosts in the deployment with the similar installation process. Please see the end of this tutorial for information about migrating from App Node to App Host, once you upgrade your system to version 7.3.2 and later.
To set up an App Node server that is separate from your QRadar Console to offload the processing of apps in your deployment, your server must comply the least system requirements, such as required software, open ports, and operating system versions.
The installation host system for QRadar App Node.
To set up a physical server or VM as an App Node, you need at least 12 GB of RAM memory along with 4 CPU and 256 GB of storage. The operating system must be Red Hat Enterprise Linux (RHEL) 7.3 or CentOS 7.3.
When the installation completes, it will bring you to the configuration page. Here you can create your /store partition which uses about 80% of the available storage capacity. Create a partition for “/”, “/boot”, and /tmp
Also, you need to create a dedicated App Node user account. The user will have passwordless sudo access for all commands that are run on the App Node. The App Node user account initially has a password, but you configure sudo to work without a password in the next steps.
Now, configure the Network and Hostname configurations. After completing the configurations, the system will require a reboot to complete the installation.
After the reboot has completed, you will be brought to the command-line interface (CLI) on the newly installed CentOS system. Login with the Root user. Now you want to give the user you created Passwordless sudo privileges.
vi /etc/sudoers
Add the line below after pressing Insert key:

ALL            ALL = (ALL) NOPASSWD: ALL

Press ESC and type :wq! for save and close the sudoers file
The QRadar Console uses the App Node user account and password to connect to the App Node. It’s more efficient for the console to run commands on the App Node by using password-less sudo access.
You can use the root user account to get access to the App Node. Instead, if you are using a sudo over the root user account, you have all the commands recorded in the system security audit log.
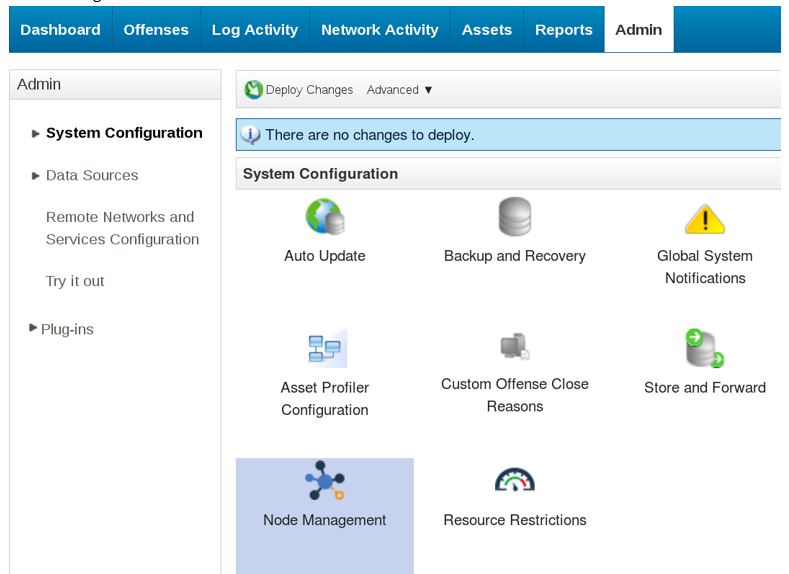
Add App Node to your Console.
To begin the configuration, click in the Nodes Management window the Add button.

The Node User needs to exist on the App Node machine with password-less sudo privilege. To allow the root user on the Console to set up ssh sessions on the App Node without providing a password, the installer performs two configurations: add the ECDSA public key of the OpenSSH server on App Node to /root/.ssh/known_hosts on the Console and add the RSA public key of the root user on the Console to /root/.ssh/authorized_keys on the App Node
Apps, that process data, stop while they are migrating to the App Node. Once all the apps moved over to the app node, the app node will complete the installation.
Installing an App Node in QRadar is straightforward task. The only con is, when you upgrade from QRadar 7.3.0 and 7.3.1 to the version 7.3.2 and above you need to migrate all your apps from App Node to App Host once again. For this purpose, you can watch the movies included in the post Migrating from App Node to App Host.